

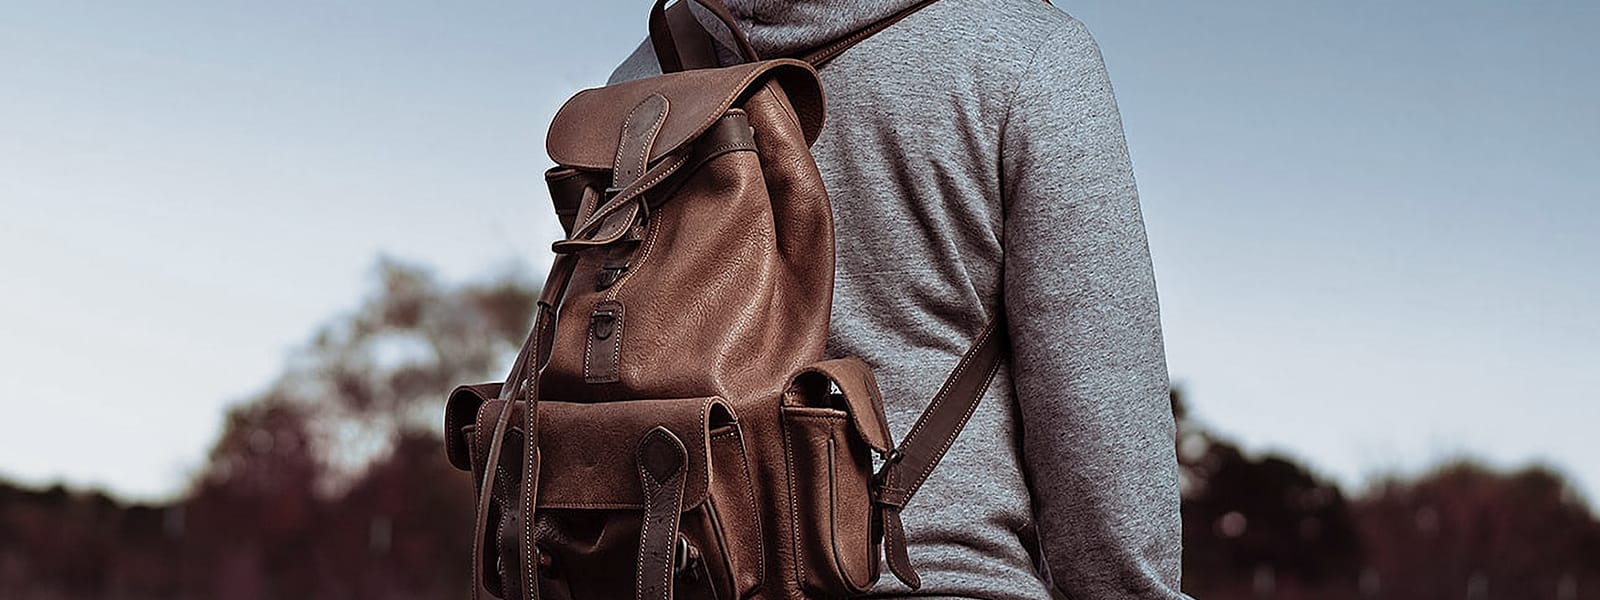

Restoring a Leather Backpack

Tanner Leatherstein tries to restore a leather backpack that was sent back to him because of a broken clasp! Let’s watch how he does it and learn some tips on how you can easily restore a leather backpack.
Let us know your thoughts and questions in the comments section below. We always read your comments! We’ll see you again next time. A quick reminder to be authentic, be leather-savvy!
TRANSCRIPTION / WRITTEN ARTICLE
Hi, folks! This is Tanner here. Today, in this video, we want to show you how to repair a bag after it’s been used without making too much opening or too much work for yourself, and closing up nicely and neatly so it can be used again.
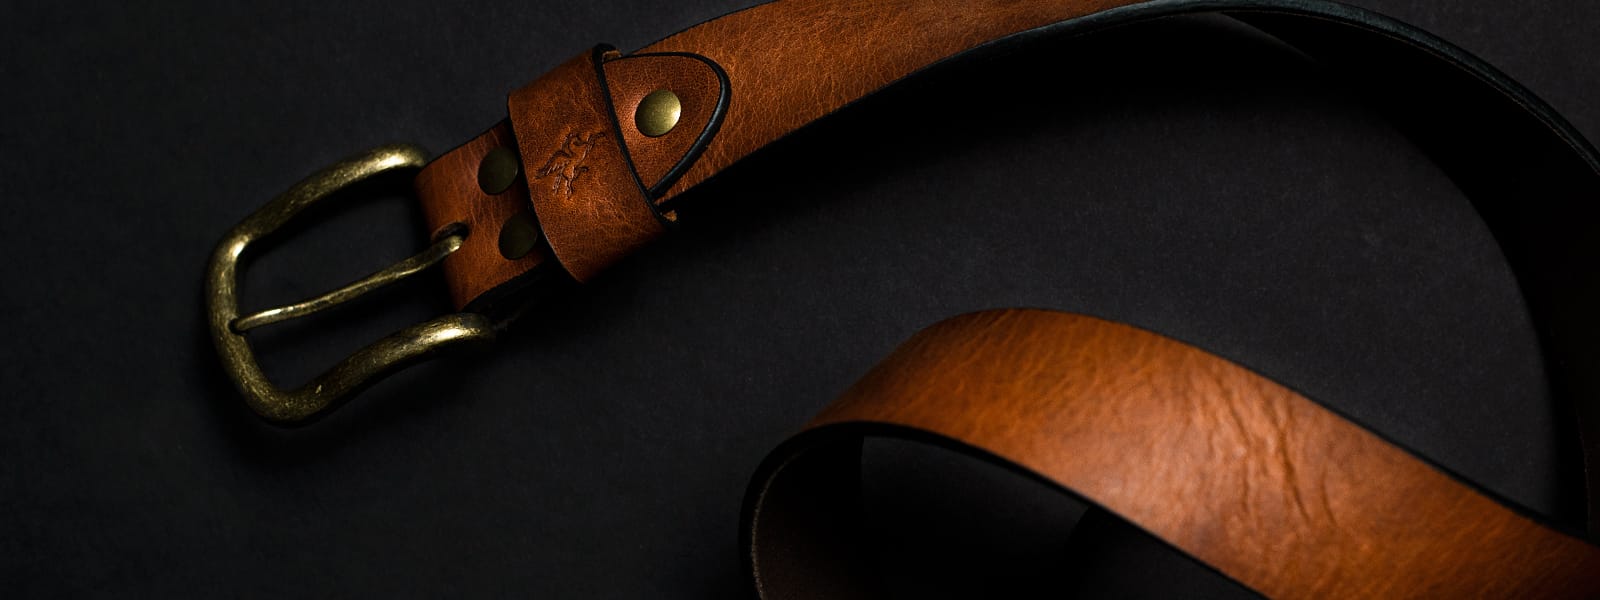
This bag came back to us with a little issue on the buckle where this little clasp goes in. The bridge broke down or fell off. We need to replace this end of the buckle. We have the replacement part here on hand but the tricky part is where we’re going to get in to reach the back of this little part, take it off, and put in a new one without having to ruin the bag that’s been already in use and has built its own character. It looks beautiful so we want to do it as seamlessly and as quickly as possible.
I’ve been inspecting before the video started. I couldn’t find a nice way to open it up from the outside of the bag. There’s a little zipper back here with fabric lining. I thought about getting in from here but then, this is sown from the other side. It would be a problem to close it back up once we’re done. So, I’m trying to find one location that is stitched from the outside so we can replicate it easily.
That’s when I decided to look into the inner lining. I took it inside out, and I was trying to see one place that was stitched outside and I found it. This part seems to be stitched outside so I can open it from here. Only enough to put my hand in to reach there, make the change, and then smoothly close it up and sew it up again so it’s seamlessly fixed.
Let’s get to it! I’m going to open it from the very end of it which might be a little harder to open but it’s going to be easier to sew it back up. This thread cutter comes in really handy. It’s a super simple and cheap tool but it makes this work very easy. The last few steps are double to lock the stitch which takes the most time.
Okay! Now, we can get our hands in which is good enough for us to do the surgery. Once we’re done, we’re going to clean it up and sew it back up. Let’s see where we go here and try to see the back of the thing.
Actually, you can’t even see. There is a piece patched up behind the piece. We’re just going to lift it up and take the patch. It sticks there. We’re going to take it out. You don’t even have to remove it all the way. Just good enough so that we can stitch it back. As you see, here’s the piece. It’s locked down. Let’s open these hands up.
Okay! We released the (clamping) legs so this should come off pretty easily now. Now, we’re going to put the new piece in. Just this one. Just get it back in the same holes since everything is already there. I feel in the back. Okay, it’s coming right. So, I came back in here. Just need to put it. Let’s see. That’s pretty solid. We closed it nicely on the back. Now, we’re going to glue that little back patch just as it was on top of the new clasp. The old glued part is pretty clear so we’re just gluing that part without going above so that the fabric doesn’t get stuck on the leather.
We’re going to air it out a little bit when it’s less moist. Then, we will close it up. That helped us dry it much quicker, and now it’s patched. It’s all good. Now, all we need to do is clean this part up, sew it real quick, and the surgery will be done in a few minutes.
Alright! So, we stitched it back. It looks pretty good. It’s not very apparent that we got into this bag. Now, it has a new clasp which will function just like new. Let’s test it out real quick. It’s solid. Okay, it goes in and out. Alright! This was not too bad. Well, I wished the accessory quality was better. We are constantly trying to select the best hardware we can get but sometimes, things happen and break. But you know, we’re always here to fix it.
Some customers got back to us saying that a product broke and we got it in to fix it real quick. Took a while for me to get back to this but that wasn’t too bad. Hopefully, he will enjoy his bag in years to come. I hope it was helpful. Whenever you’re working on a bag like this to fix something that needs to go inside, always try to find the easiest way to get in, thinking that you have to sew it back again. Begin with the end in mind. That helps. Thank you!


Leave a comment