


Finding the Right Thickness for Your Leather Projects

Tanner Leatherstein explains leather thickness and different terminologies used in the leather industry. In this video, we’ll answer the following questions:
- How do you convert ounces to millimeters or vice versa?
- Which unit of measurement is used in the United States compared to the rest of the world?
- Which leather thickness would he recommend for different types of leather projects?
Let us know your thoughts and questions in the comments section below. We always read your comments! We’ll see you again next time. A quick reminder to be authentic, be leather-savvy!
TRANSCRIPTION
Hi, friends! If you’re shopping for leather goods or you’re working with leathercraft, you may have heard about the leather's weight or thickness. You might be confused at some point because the United States uses different measures while the rest of the world talks with a different unit of measure, and you may not know how to convert and understand what they mean. Don’t worry. By the end of this video, you will understand how to calculate and convert quickly and what these mean for your project.
Let’s start by giving some examples. Depending on what unit of measurement is used in the United States or the rest of the world, we’re talking about the thickness. Even if we call it weight, it’s the thickness of the leather. The units we use in the United States are ounces. So, we call this eight or ten-ounce leather, which we refer to as the thickness. The rest of the world refers to it as millimeters. The basic conversion that you can use here is 1 ounce = 0.4mm. So, if you hear five-ounce leather, you automatically multiply it by 0.4, and you’ll reach 2mm. Then, you’ll know we’re talking about a 2mm thickness leather when we say 5oz. weight.
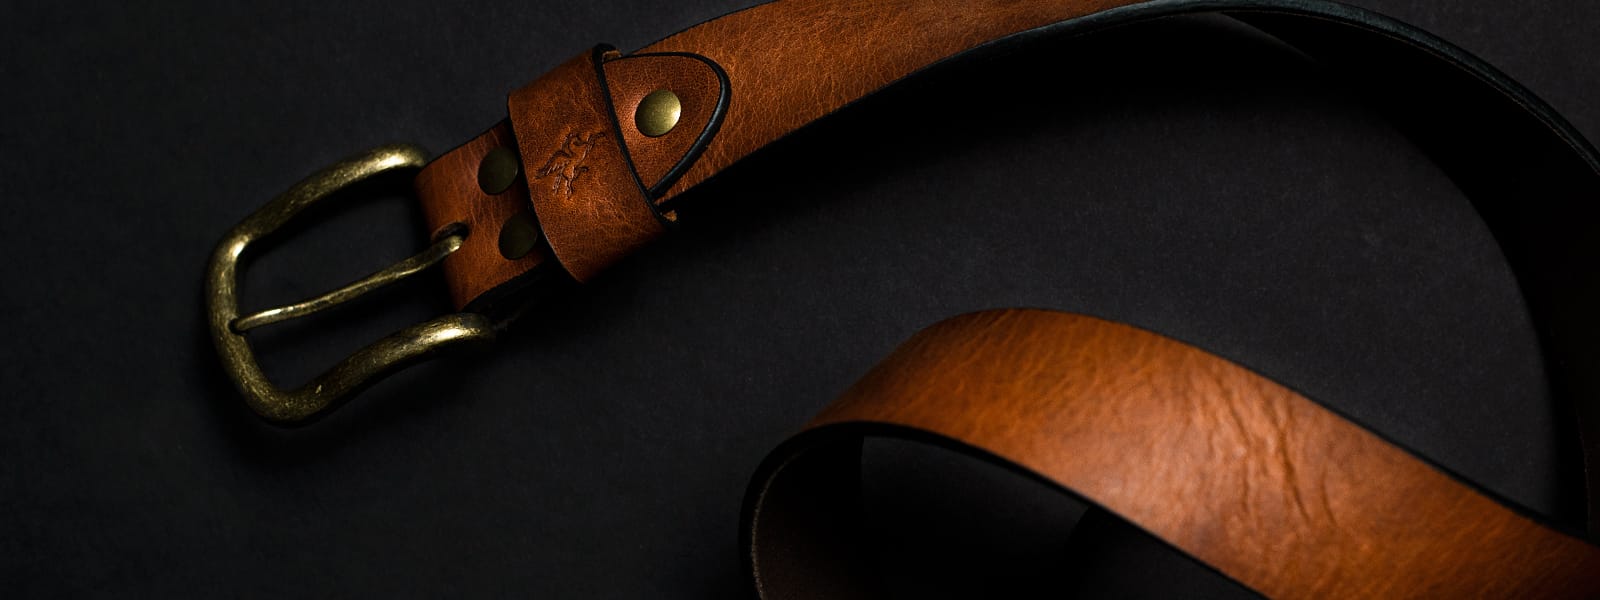
Now that we understand the conversion of the units of measure, we can talk about some specific examples and what they mean for your project. So, we go with thicker cuts of leather for projects that require some strength like belts or saddlery. This belt blank here in front of me comes about 4mm which is about ten ounces. Because we need that substance in this project, we go with thicker cuts of leather.
This is another (even) thicker leather that I have in front of me, coming about 5.4mm to 5.5mm which comes to about 13 ounces. This is a sole leather that goes under the sole of your shoes. It’s much stiffer, which is another terminology we use here. It’s called the temper of the leather. The leather can be thick but it can be softer or stiffer, depending on your project which is another explanation. Later on, we’re going to make content for it. For thicker cuts, we’re going to use projects like belts and things that require a lot of strength and durability over the years like your saddlery.
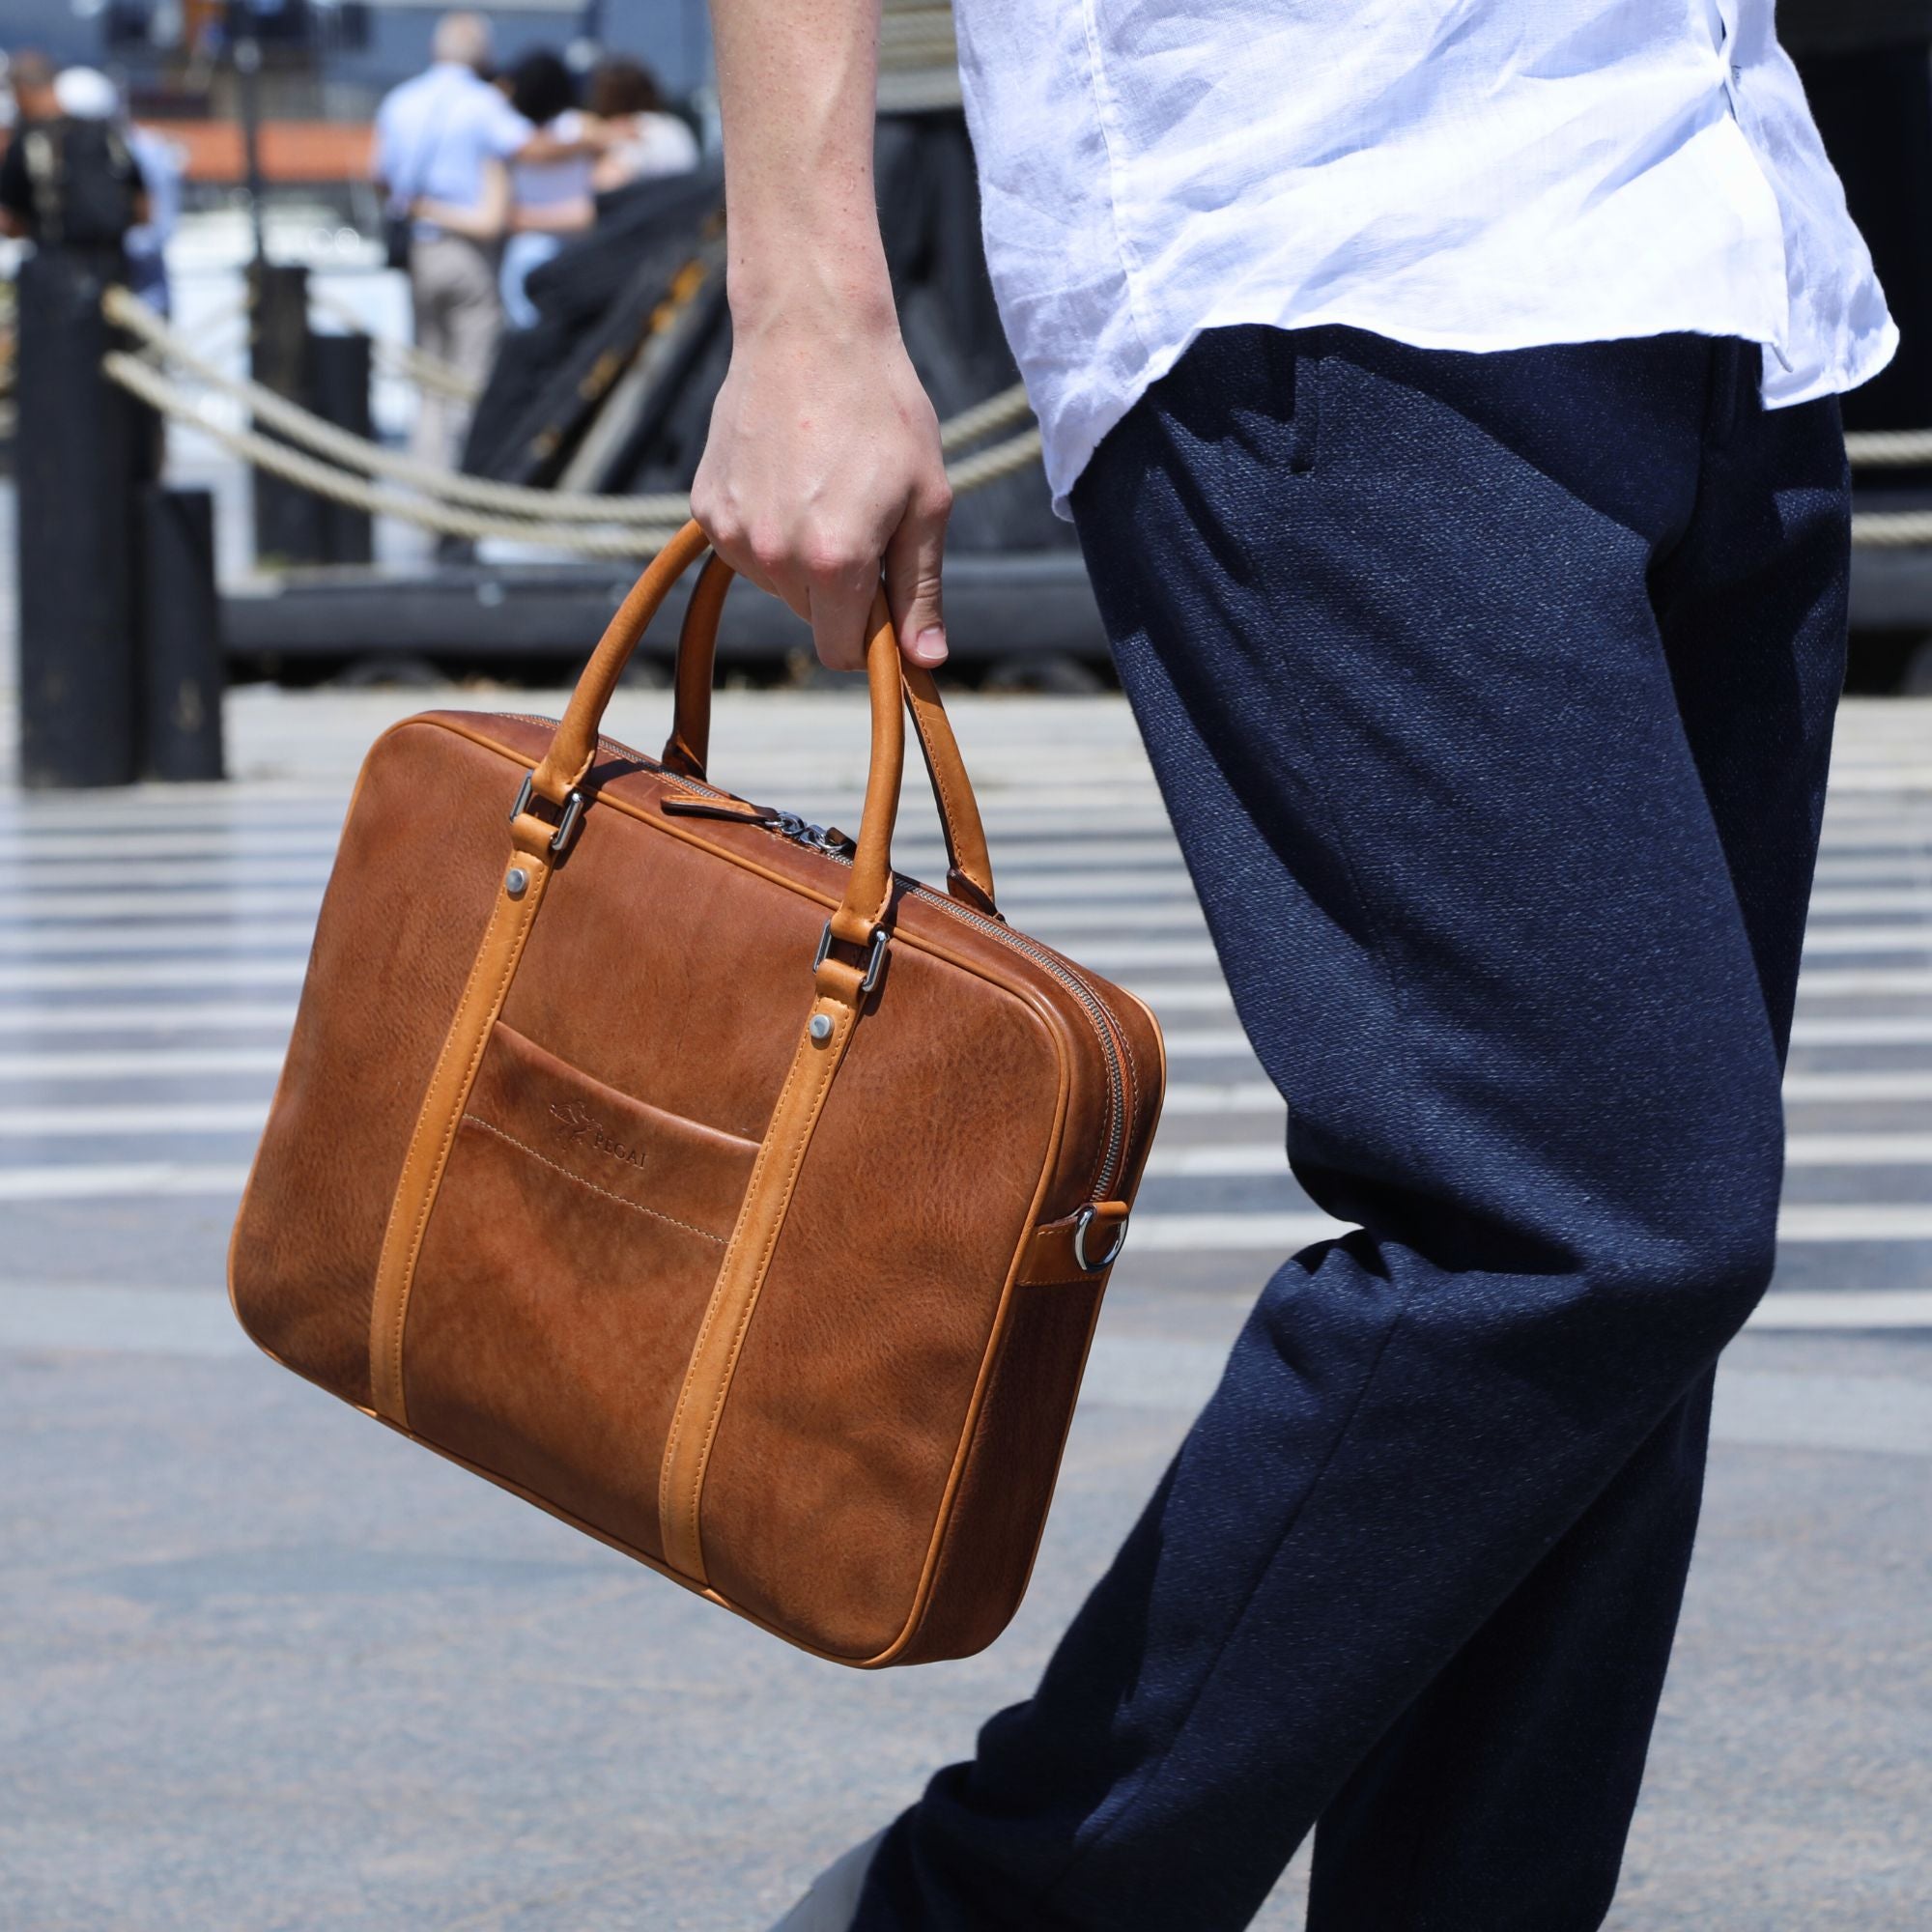
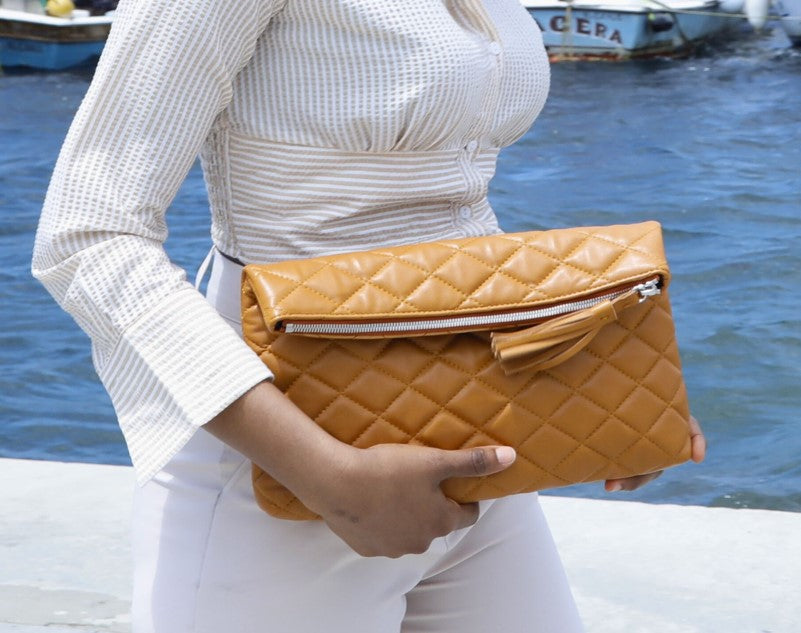
Then, we have the medium weight (or thickness) of leather which is the most common in the industry. This is what we use in small crafts such as shoes and bags. This is your most common thickness in the craftsman space. We have this cowhide in front of us and the thickness comes here at around 1.8mm. This is about 4 ½ to 5 ounces in thickness cow leather. This is good for your typical wallets, handbags, and all sort of small crafts that you can make with simple techniques by putting layers of them together, stitching, and sticking them together making wallets, padfolios, and even bags of this sort which uses the same thickness of the hide.
The good part here is now, you have the substance. If you want to go a little more sophisticated in your crafting techniques to employ some stiffing agents or structure methods and inserts in your crafts, you can actually split this leather and then put some supporting materials in between. For example, our most popular padfolio here is done that way. Let me show you one of the ruined ones already and what I mean by that.
As you see here, this was made with the same thickness of leather but it was split down. The top layer which has the grain is supported by a little bit of sponge material to give some additional subtle and softness, and cardboard to give structural integrity. It is also supported with a back suede again, put it back, to cover that internal support material so that this particular craft has a lot of integrity and doesn’t flap over from other techniques if you were to use just the leather itself as the main material on it. This definitely goes for a more complicated crafting technique. But again, if you’re going to employ initial fillers and support material to make your craft stronger, then you’re going to need to account for the thickness of the leather that you’re working with.
Now, we come to the thinnest part of the leather. We have examples in front of us. So this is a goat suede, and it’s only 0.4mm to 0.5mm which is only 1 to 1 ½ ounces. This is a really thin piece of leather. This can be used to make some pouches or inner linings to any bag or shoe. It’s super soft and it can be used as a garment. A lot of people make shirts with this kind of material.
We have another one that is double its thickness. It’s still goat skin. It measures a little thicker than that at about 0.8mm which is two ounces. This is made specifically for glove projects. It is soft. It is actually pliable, but it has some substance to it so it will make a pretty good glove protecting your hands. This even has some touchscreen ability with the tanning. So, you can even control your phone after you make a glove with this leather.
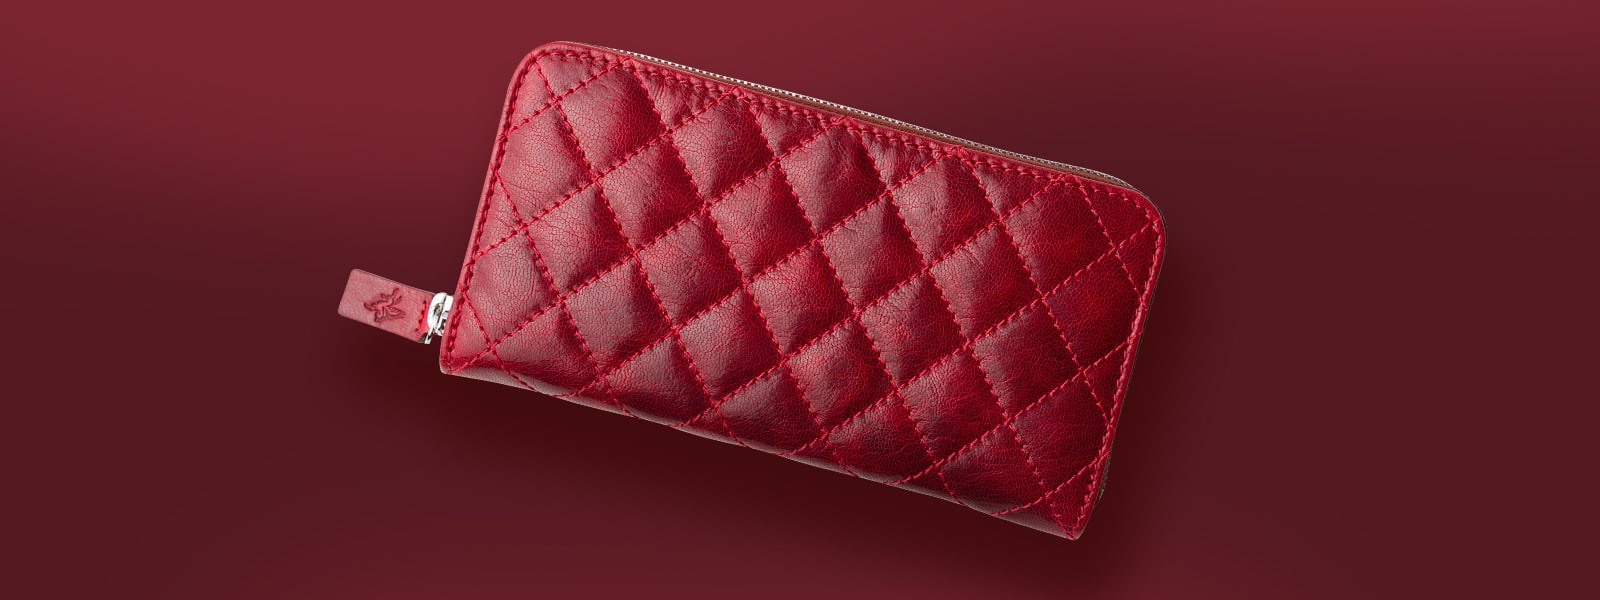
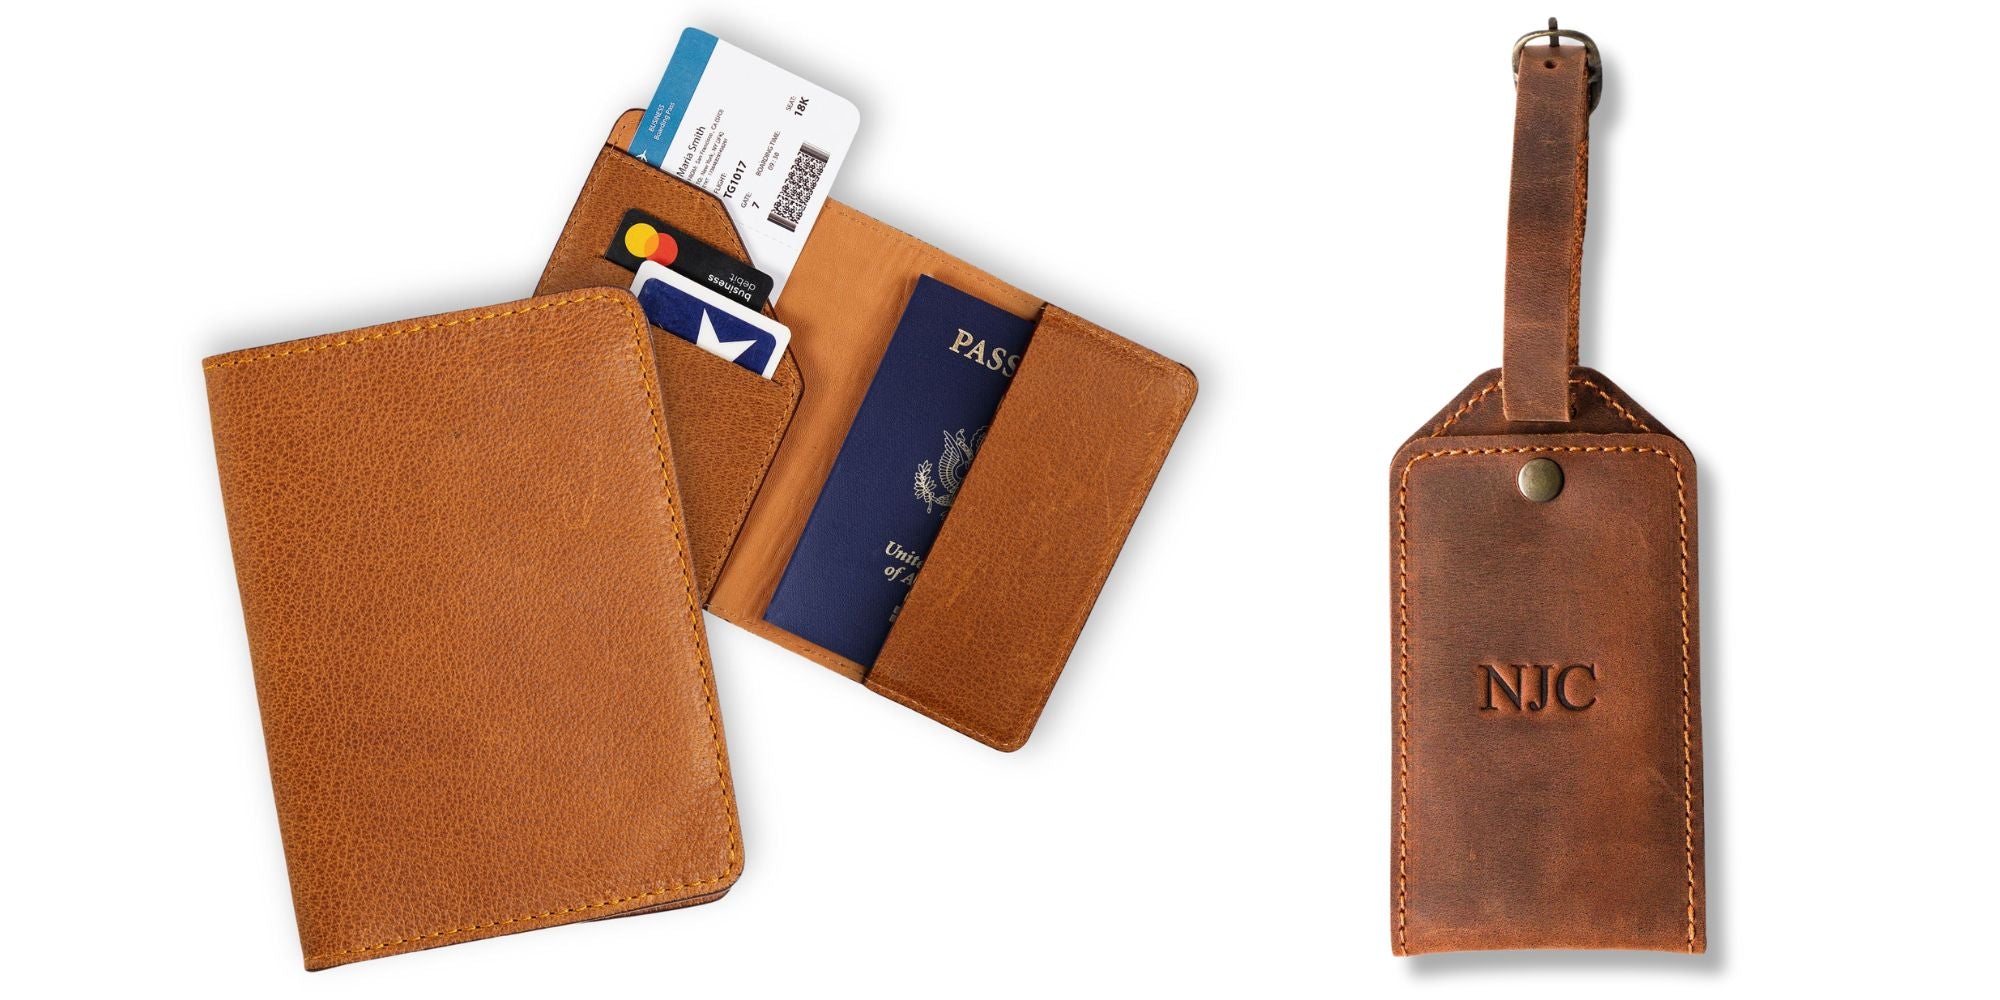
Similar (thickness) leather can be used for projects like wallets, but now you’re going for more complicated techniques of making it such as designer wallets. Here, we have probably about one ounce of leather used inside and the outside as well. It’s split down so we can actually accomplish a very slim wallet even though we have layers and layers of leather and pockets here.
So, depending on what project you’re going after and what kind of crafting technique you’re going to employ, the substance of the leather will be very important. The temper of the leather is also important. It may be soft or stiff. With this information on hand and your conversion metric (1oz. = 0.4mm), you should be able to understand all the labels you’re reading moving forward and make a better decision to pick the right leather for your project next time.
I hope this video was helpful, making your crafting and leather shopping easier. Please don’t forget to subscribe to my channel and hit that bell button to get a notification every time we post new content. Thank you.


Leave a comment